Useful Tips That Can Help with Recording Your Music Demo
Your demo serves as your business card as a musician. It’s critical to get it correctly because it can help you grow your audience and is your chance to catch record labels’ attention.
Despite what many people think, demo recording doesn’t have to be extensive or expensive. No matter how much money you spend on the recording, audiences will hear your songs if they are good.
Below are a few useful pointers for the steps in recording your demo.
Be Discerning
For your first demo, you don’t need any live performance experience. To find out which of your songs are the most well-liked, it is a good idea to practise performing them in front of an audience at an open mic, at a friend’s house, or anywhere else.
The next step is to select two to four upbeat songs that best capture your sound. However, you shouldn’t entirely rely on what other people think while making decisions.
Choose a Recording Space
You may reserve a studio. Maybe you will use a 4-track recorder or record at home on your computer to go completely old school. Any location you choose should have everything you need. And if you’re recording at home, be sure you know how the space affects the sound.
Select a Recording Technique
You have two fundamental options: go live or go multi-track. The one that’s best for you will depend on the type of music you’re producing. All instruments and voices are recorded live in one take, giving the song a rough, raw quality.
What You Require:
- 8 Track, 4 Track, or studio access
- A preamp and recording software that lets you connect musical instruments and microphones to your computer
- Mic stands, mic cables, and microphones
- Some excellent songs to record
Select a Recording System
These days, there are various ways to record your music, from the simplest to the most complex. What you choose to accomplish will depend on how much time, money, and recording expertise you have available, but these are your basic options:
- Smartphone
- A portable recorder, either digital or analogue
- Home digital audio workstations or computer software
Set Up
The cymbals should each have two microphones, and each individual drum should be mic’d for the drums. Each DI should be used for the bass and guitar. The guitarist can use a mic and be connected to an amp in a different room if there is a double guitar part or if you want an extremely clean sound. This will prevent sound from the amp from leaking into the mic.
Record Your Demo
It’s time to start recording. Refrain from recording for a long period and try not to become bogged down in the details. A demo should be direct and concise.
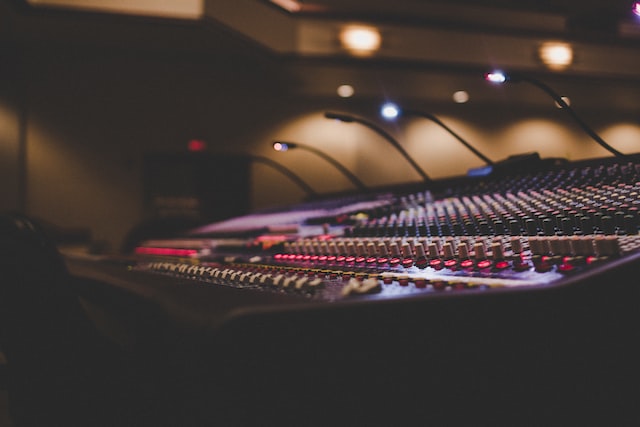
Mix The Recording
Keep in mind that labels don’t demand perfection from a demo. Do not feel under any pressure to achieve a perfect mix if you are recording at home on a computer and mixing is simple enough. A sloppy mixture is acceptable.
The engineer or producer can mix your track for you if you’re recording in a studio.
A demo is not meant to be a finished song that is ready for distribution. Mixing is one of the most crucial aspects of a professional recording, but not of making a demo. Be careful not to overspend on this step in terms of time and money.
The mastering phase is entirely up to you. It incorporates some compression and a final EQ treatment. Remember that every person who masters a track has a unique approach; no two will master the same recording in the same way.
If you choose to have your recording mastered, be sure to also order an unmastered copy in case you are dissatisfied with the final output.
If you need broadcast equipment for your recording, don’t hesitate to visit 3D Broadcast. We’re a well-established professional broadcast equipment company with years of experience selling into the broadcast and corporate marketplace. Check out our products now!